
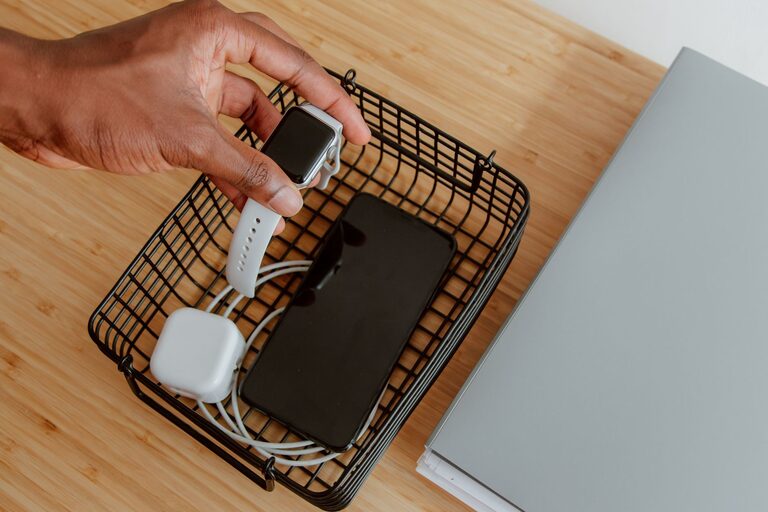
Setting up a dedicated charging station for your devices can simplify your daily routine and keep your space neat and organized. With so many gadgets like smartphones, tablets, earbuds, and smartwatches, having one central spot for charging helps you avoid cable chaos and ensures everything stays powered up. This guide will walk you through the steps to create a convenient and efficient charging station tailored to your needs.
Why Create a Charging Station?
Before diving into the setup, it’s helpful to know the benefits of a dedicated charging area:
– Organization: Keeps all devices and cables in one place, reducing clutter.
– Efficiency: Saves time by having a predictable spot where your devices can recharge.
– Safety: Minimizes risks of tripping over cords or overloading outlets.
– Device Longevity: Prevents overcharging by enabling better control of charging habits.
Now that you understand the advantages, let’s explore how to set up a charging station.
Step 1: Choose the Right Location
Select a spot in your home or office that’s:
– Easily accessible: Somewhere you frequently spend time, like a desk, kitchen counter, or nightstand.
– Near power outlets: Minimizes the need for long extension cords.
– Dry and well-ventilated: Keeps devices safe from moisture and overheating.
If possible, opt for a spot where devices won’t be in the way or get knocked over.
Step 2: Gather Your Supplies
To build a charging station, you’ll need:
– Charging hub or multi-port USB charger: Ideal for powering several devices simultaneously.
– Cable organizers: Clips, sleeves, or boxes to keep cords untangled.
– Storage container or tray: A box or tray to hold devices while charging.
– Power strip with surge protection: Protects your devices from power surges.
– Labels (optional): To identify cables and ports, especially useful for families or shared spaces.
You may already have some of these items; if not, they are widely available online or at electronics stores.
Step 3: Select the Charging Equipment
Multi-Port USB Charger
Instead of using multiple wall chargers, choose a multi-port USB charger that can handle the total wattage your devices require. Benefits include:
– Less wall socket clutter.
– Fewer individual adapters.
– Faster charging for compatible devices.
Look for chargers with smart technology to adjust power delivery per device.
Charging Cables
Use cables that fit your devices well—USB-C, Lightning, or Micro-USB. Consider:
– Getting cables of varying lengths to prevent excess slack.
– Replacing worn cables to ensure safety and efficiency.
– Using braided or reinforced cables for durability.
Step 4: Organize Cables and Devices
Cable management is key to a neat station. Here are some tips:
– Cable clips and holders: Attach these to the edge of your desk or inside storage containers to keep cords in place.
– Cable sleeves or wraps: Bundle multiple cords together for a streamlined look.
– Label cables and ports: This helps especially if multiple people use the station.
Place devices in the storage container or tray while charging. Charging docks designed for specific gadgets (e.g., smartwatches or earbuds) can be added if you want a more tailored solution.
Step 5: Set Up Power Supply Safely
Plug your multi-port charger into a power strip with surge protection. This step protects your investment and increases safety. Avoid daisy-chaining multiple extension cords, as this can cause electrical hazards.
Arrange the power strip under the desk or inside a drawer if possible, keeping it out of sight but accessible.
Step 6: Maintain Your Charging Station
– Regularly check cables and chargers for wear or damage.
– Clean the area weekly to avoid dust buildup.
– Rearrange based on changing devices to keep everything efficient.
– Unplug devices once charged to preserve battery health.
Additional Tips
– Consider wireless charging pads for compatible devices to reduce cables.
– Use a small fan or ensure airflow if many devices charge simultaneously to prevent overheating.
– For families, setting rules about where devices should be charged can help maintain order.
Conclusion
Creating a dedicated charging station is a straightforward way to reduce clutter and keep your devices ready for use. By choosing the right location, using proper charging equipment, organizing cables, and maintaining your setup, you can enjoy a tidy and efficient charging experience. Start with small steps and customize your station to fit your lifestyle and device collection.
With a little effort, your charging station can become a helpful daily habit, making device management easier and your space more welcoming.